

One common request we often receive as FileMaker developers is to give users the ability to export the data out of the FileMaker app into Excel. While FileMaker provides the ability to do this quite easily with the tools built into the app, users often want more flexibility and customization when it comes to the formatting of the exported Excel sheet.
There are a variety of options that are available here – plugins exist to make this possible, and we have a blog post that outlines a routine way to export custom headers from FileMaker using XSLT sheets. But we can also export data from FileMaker to Excel with the power of JavaScript.
HOW DOES THIS WORK
The general idea behind this is to use a JavaScript library that we've embedded into the solution to export an Excel sheet. We take some standard FileMaker data, convert it to a JSON array, and then run it through the JavaScript library to export to Excel. Our sample file is completely unlocked, so feel free to look under the hood, as it were, and see how we did it.
HOW TO USE FMTOEXCEL
Included with this post is a FileMaker sample file called FMtoExcel. The purpose of this application is to allow users to:
- Specify custom header labels for all fields on a layout
- Adjust the order of the export at will
- Add a custom header row above the column headers
- Add trailing summaries to each column
And we want to do this without adjusting any scripts or layout objects. To see how this works, download the FMToExcel demo file. It's pre-populated with an example data set to work with to see how this tool works.
After downloading the file, open it up. We should be directed to the "DataSet" layout.
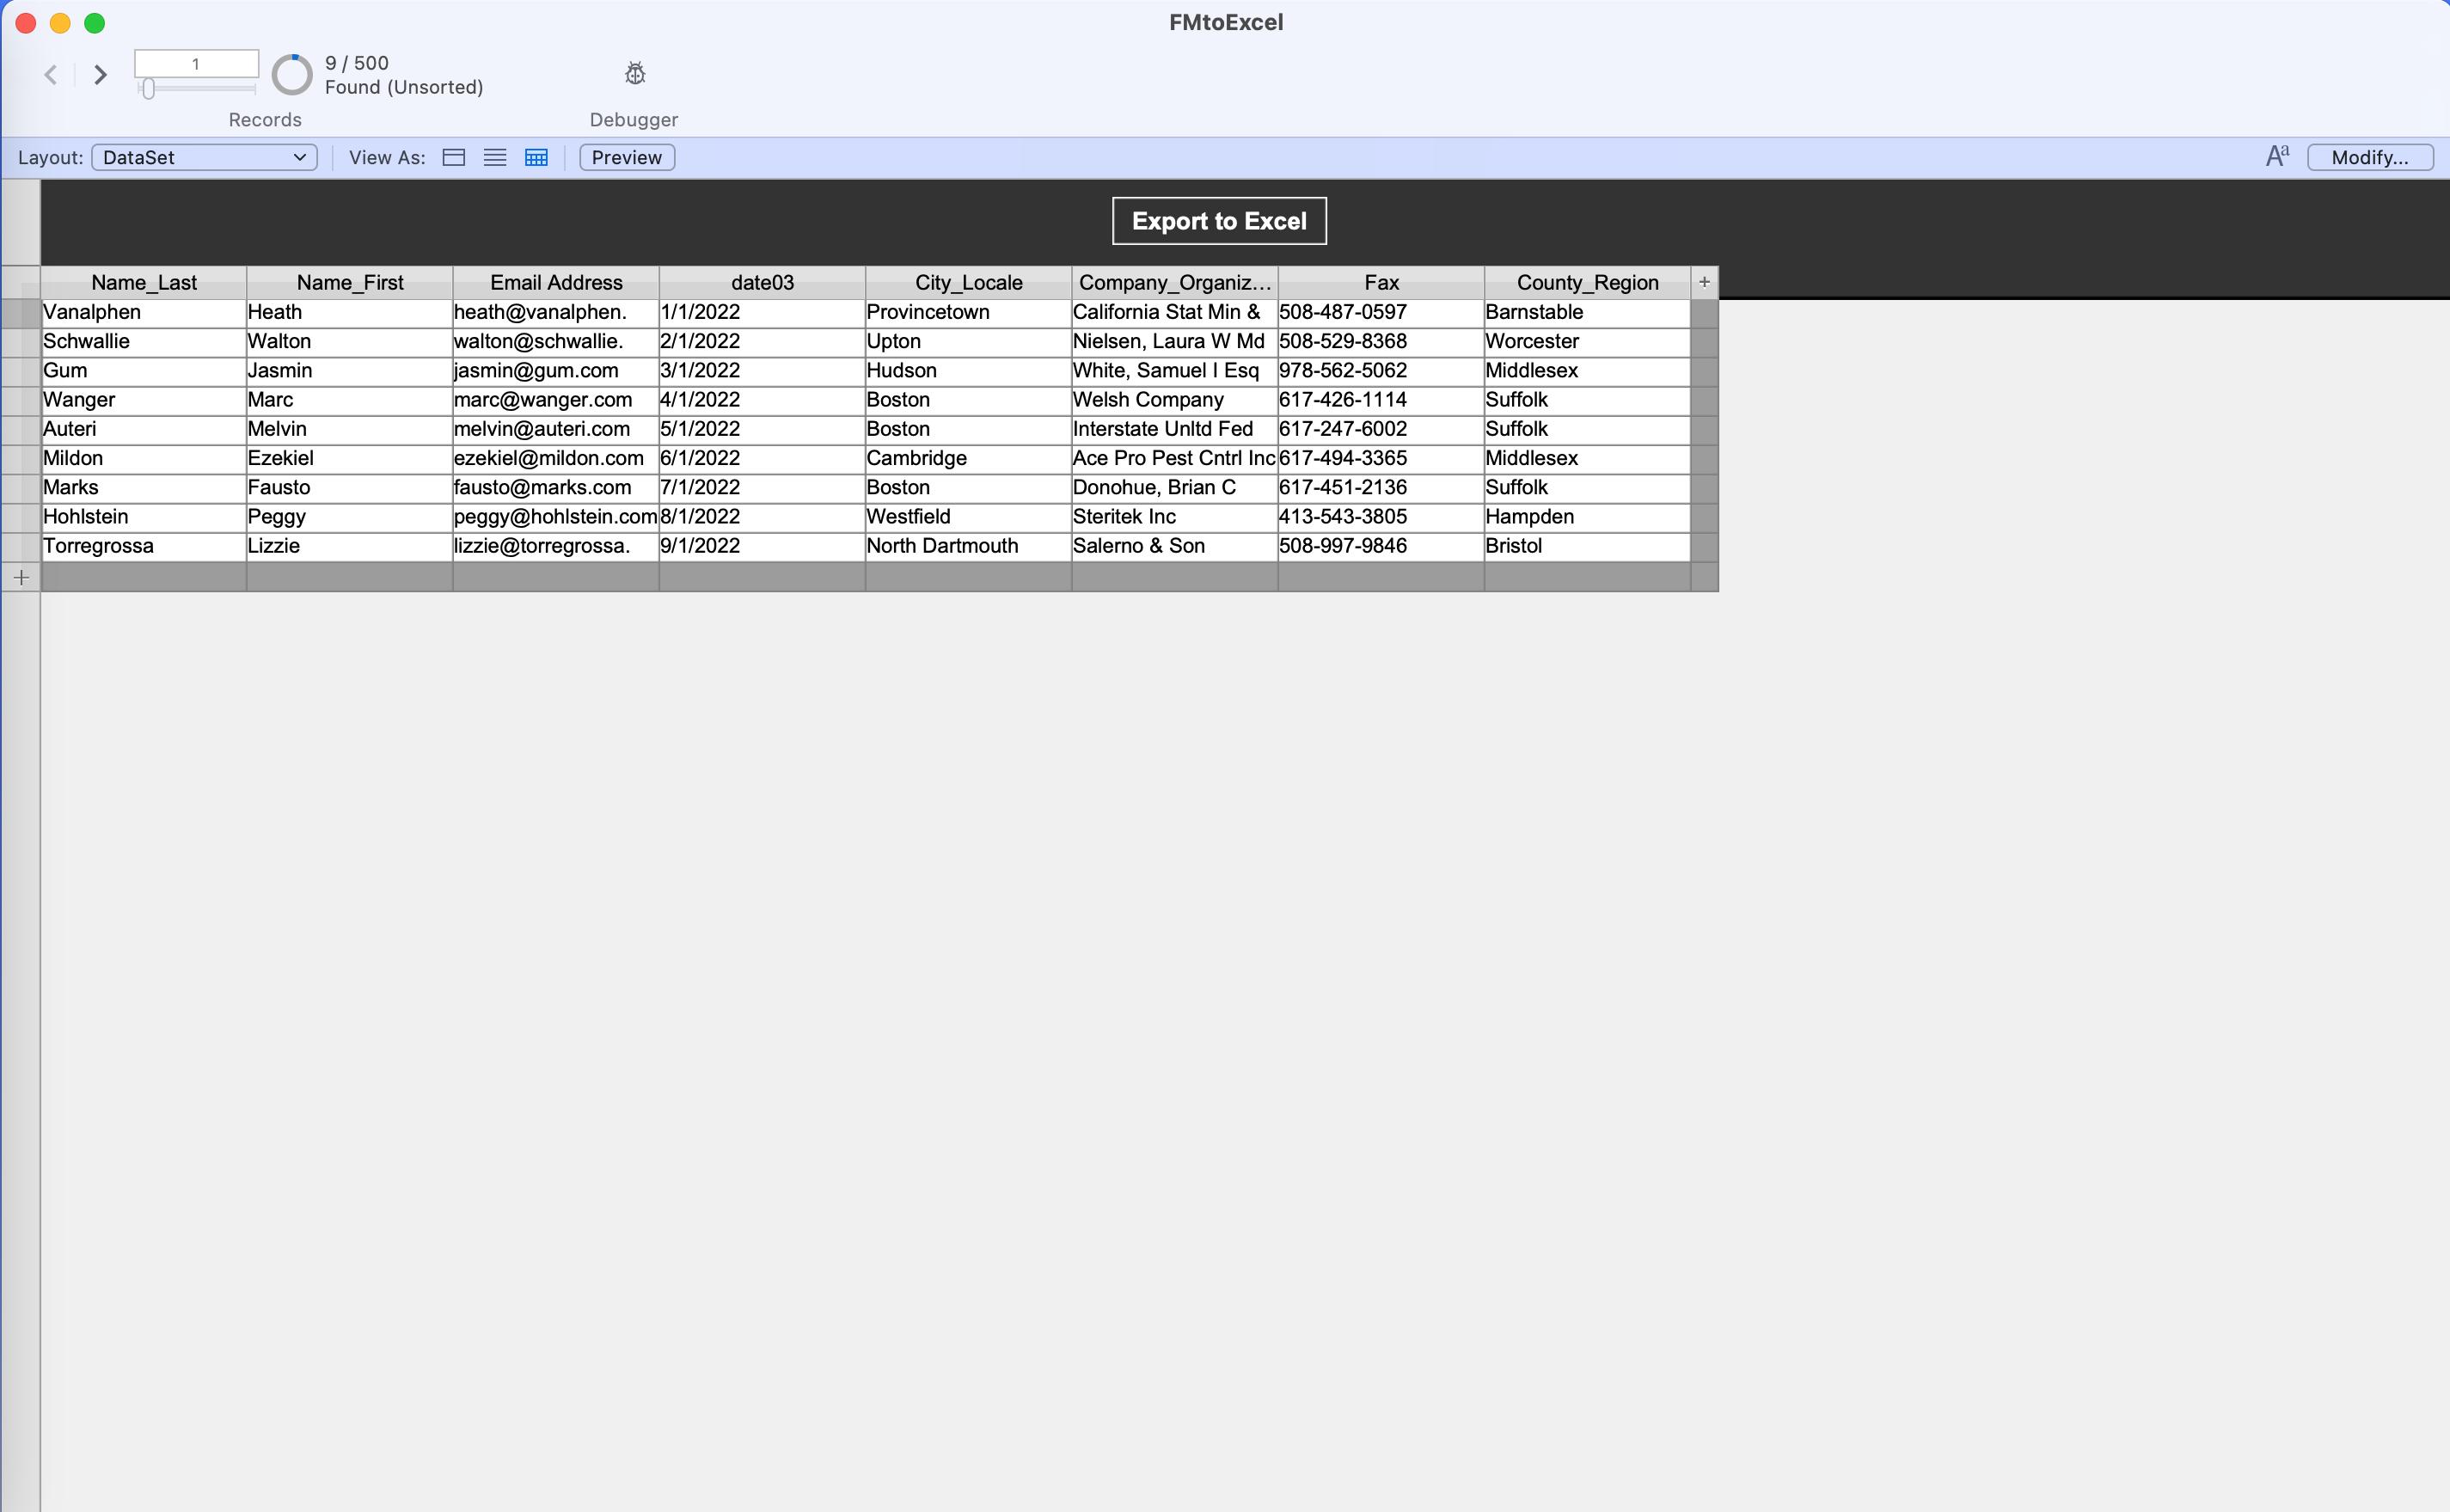
This is our sample data layout. Notice the layout is in a table view, which is essential for the tool to work. The tool will export any columns visible on this layout to Excel in the order they are displayed. Feel free to re-order the columns, change the found set, or add/remove fields from this table view. Then click on the Export to Excel button.
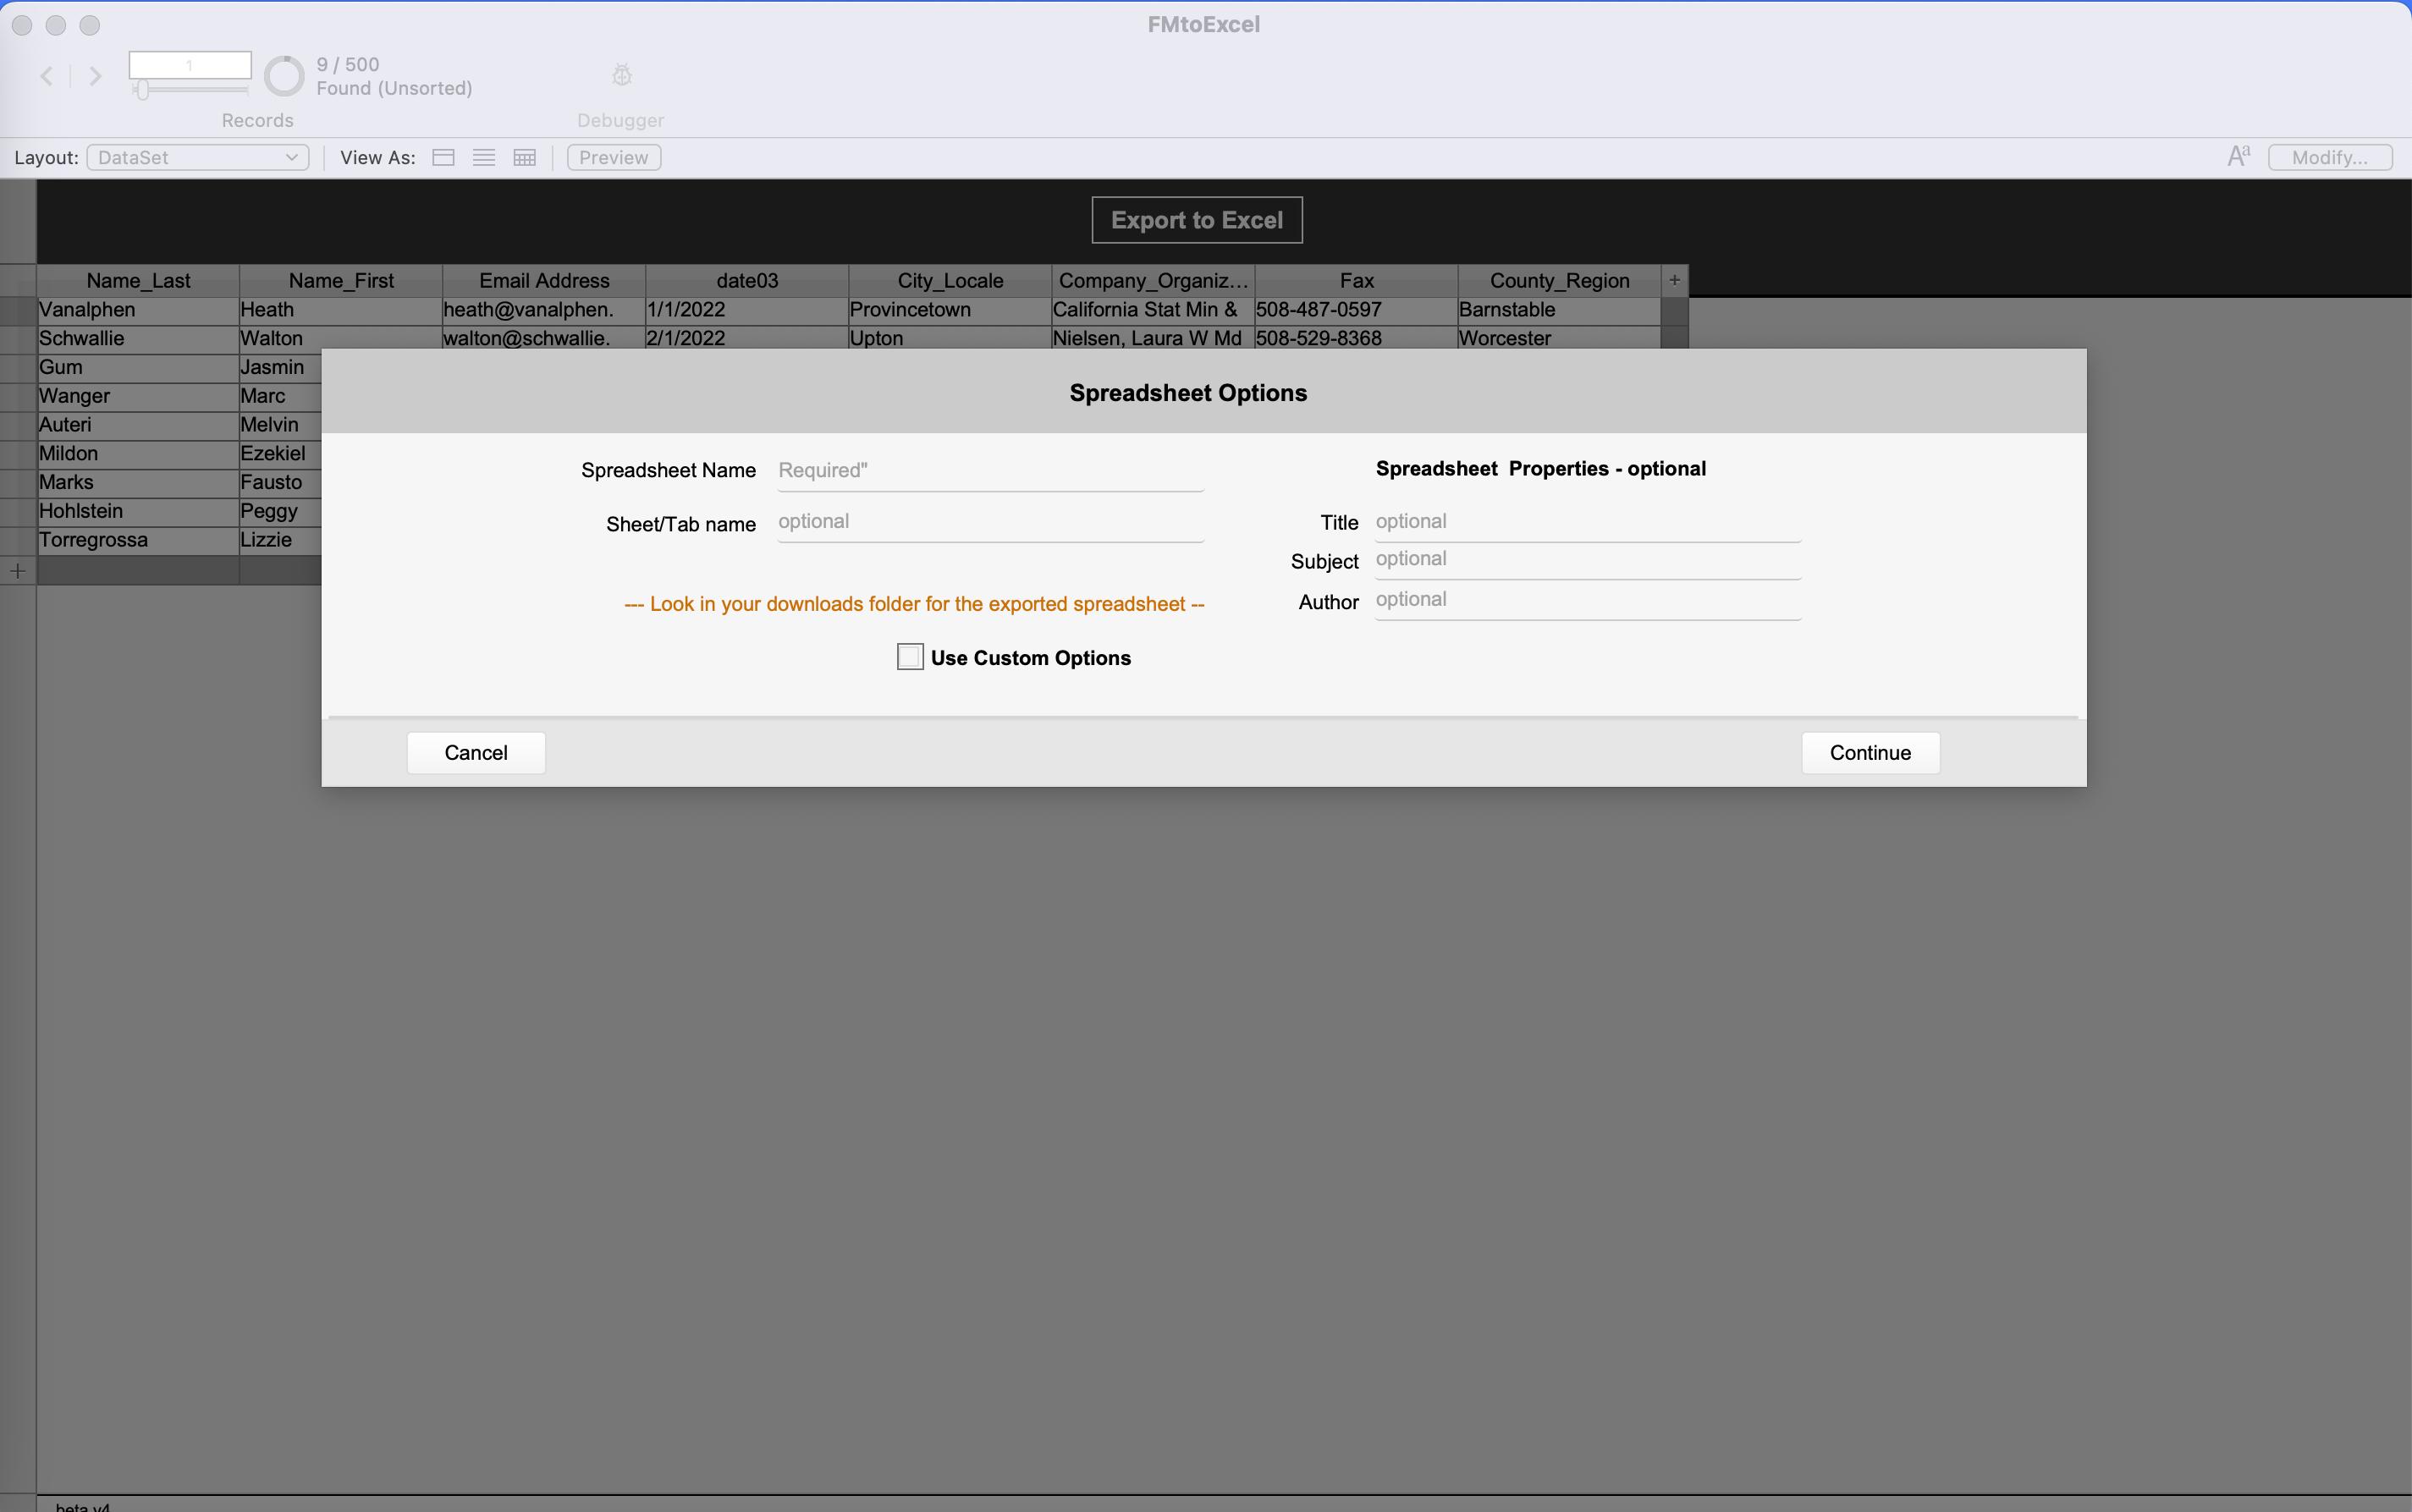
Clicking the button will take us to a "Spreadsheet Options" Card Window with the default set of options, allowing us to specify the spreadsheet name and standard properties. Click the "Use Custom Options" checkbox for more advanced and detailed options.
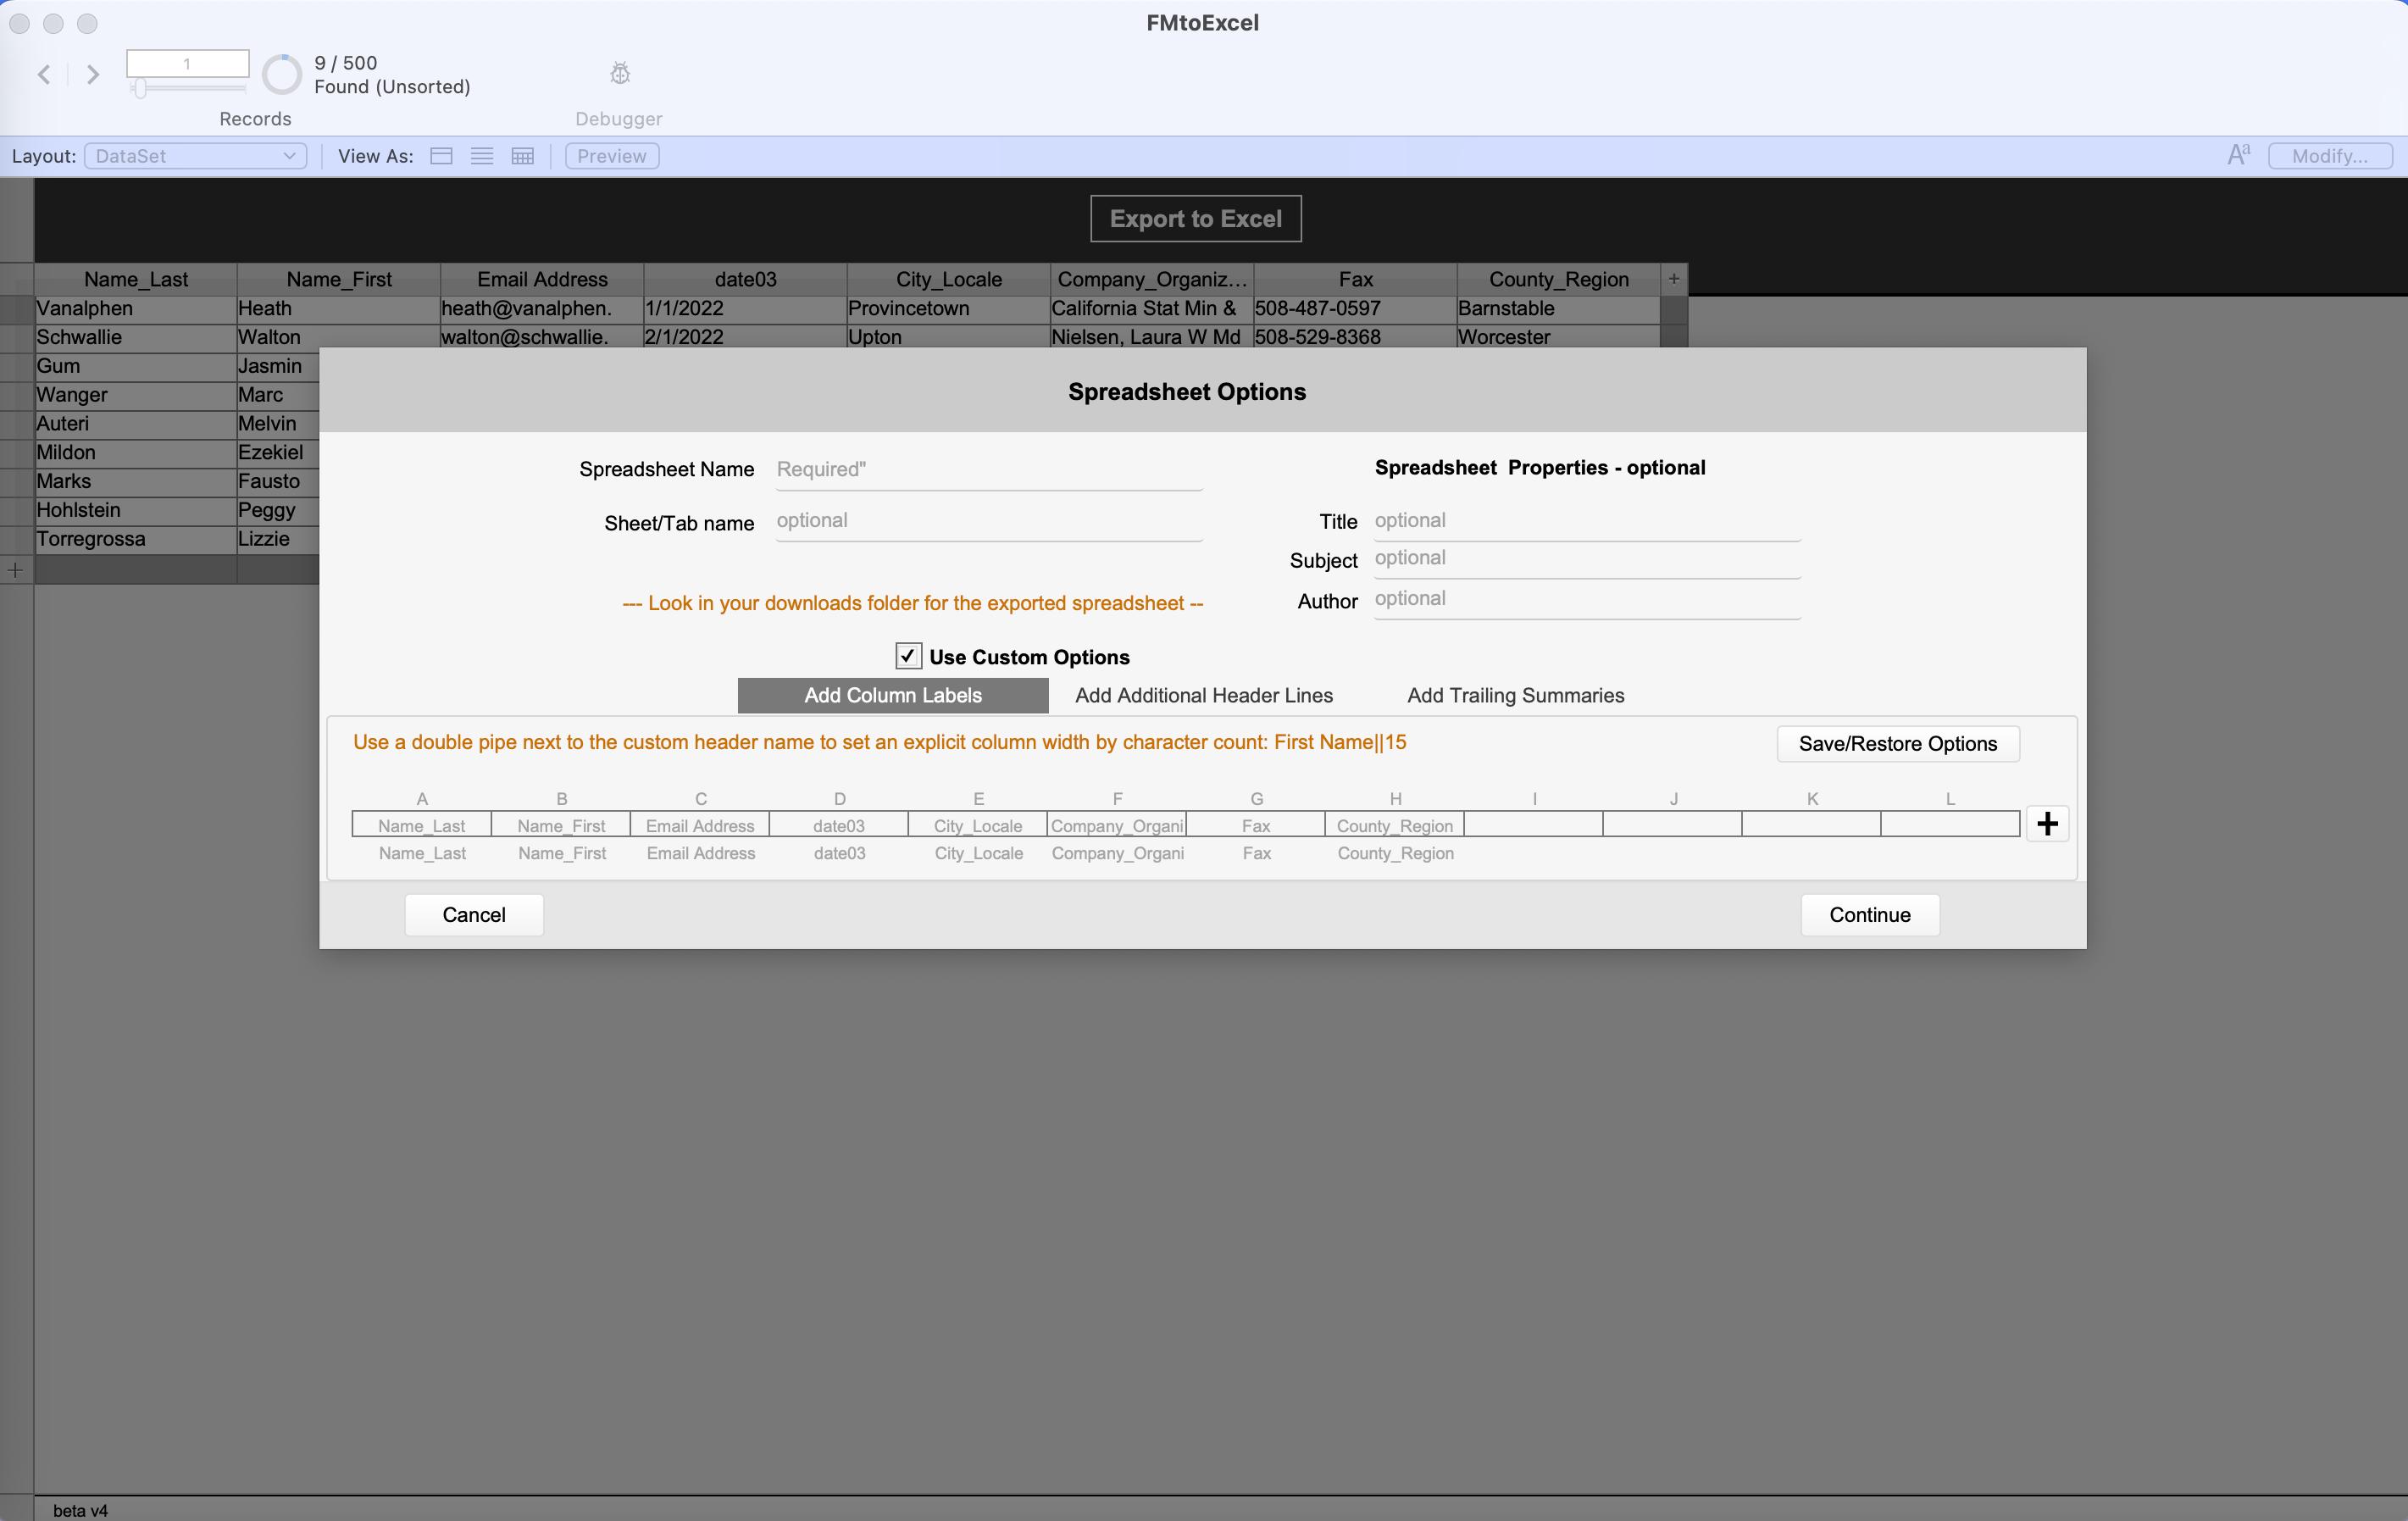
The solution will give us various options. The most requested feature here is the ability to change the field names in the headers to a more readable language. For instance, in the screenshot above, we could change "Name_Last" as the column header for Column A to "Last Name," a much more natural and easier-to-read version of the field name.
We can also specify additional header lines to go above the column label header row, add trailing summaries to various columns, and store our custom options so that we can restore everything we specify for this table the next time we export.
Once we have everything set, hit continue at the bottom, and the tool will export our custom file to the downloads folder on our workstation.
HOW TO INSTALL FMTOEXCEL
All we have to do is:
- Add our table to the FMToExcel file as an external data source
- Create a table view layout with the fields from the table we want to export
- Copy the button "Export to Excel" from the "DataSet" layout to our new layout
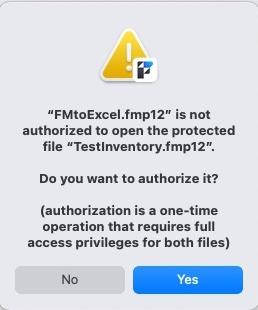
To walk through this, we created a test database using the "Inventory" template that is included with Filemaker. The file reflects one hundred dummy records with random Car Part names and part numbers. Thanks, ChatGPT!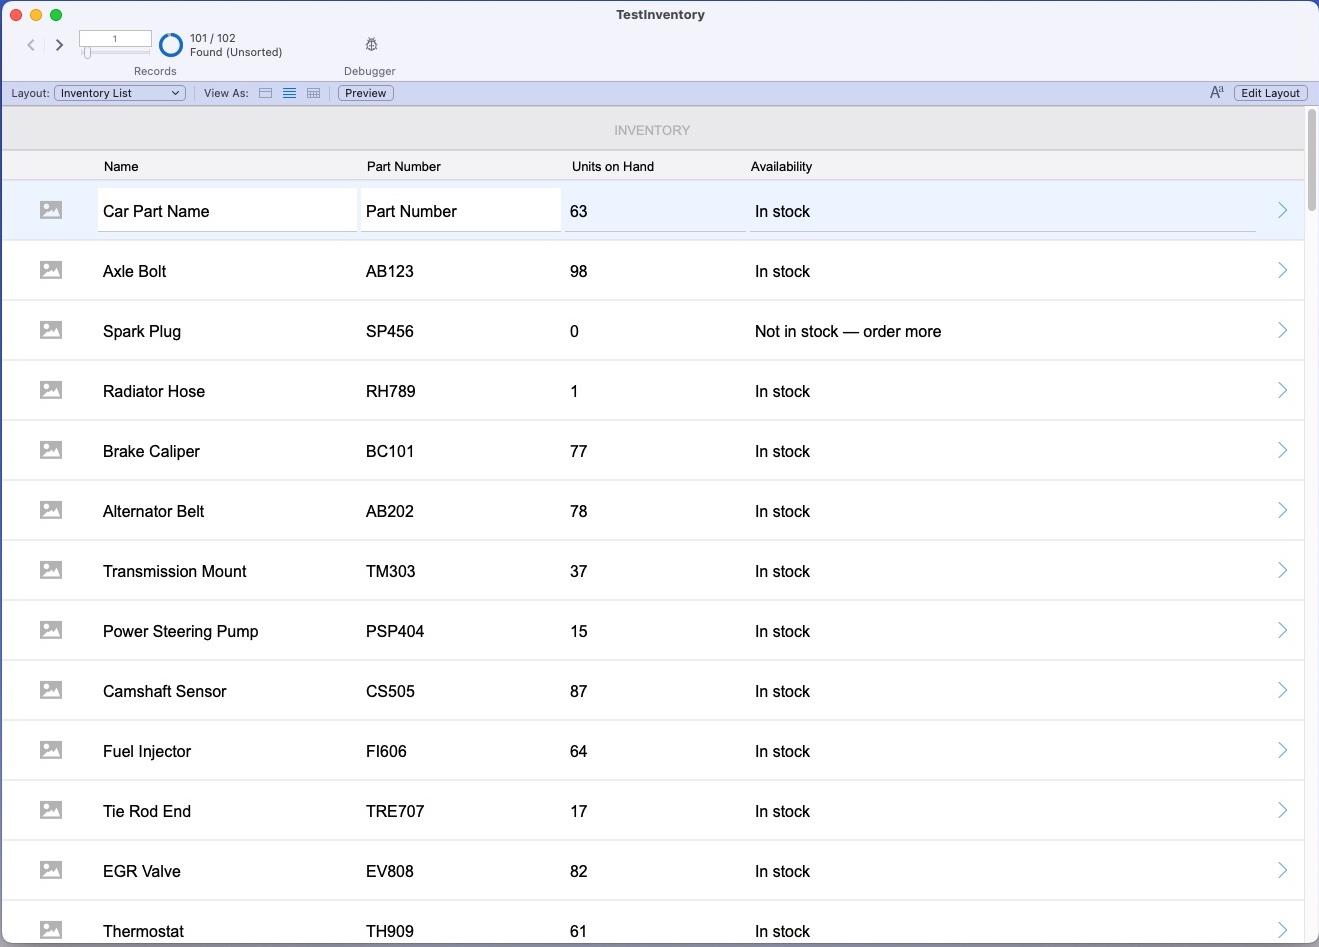 In the Relationship graph, we added this file as an external reference to the FMToExcel file. We'll need to authorize FMToExcel to open our new file when we add it to the relationship graph. Click "Yes" on the dialog box that opens up. It's similar to this but with your file name.
 Select the table from our solution that we want to be able to access via the tool. We selected the Products table in the sample file. We should now see our table as a table occurrence in the FileMaker relationship graph.
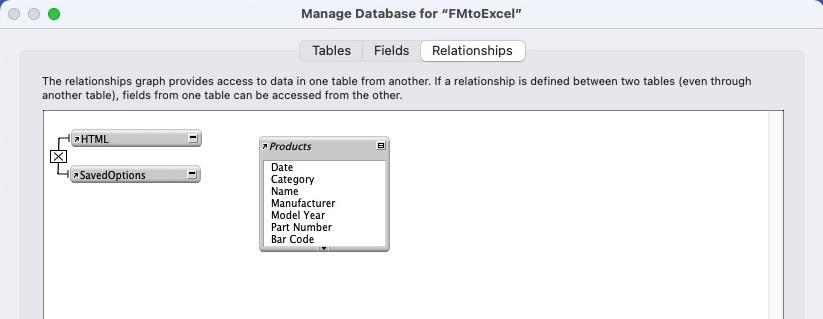
Now let's create a new layout based on our table occurrence. We enter Layout Mode and select the new table occurrence as the context for that layout. Choose the "Table" view for the data display. 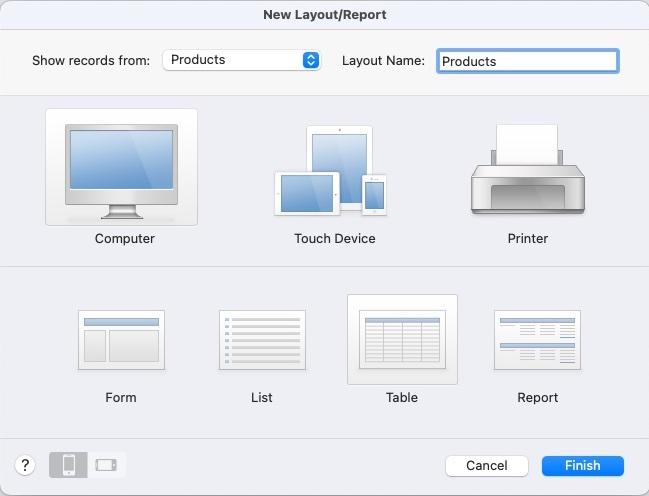 Click "Finish," then add the fields to our table view that we want to be available to export. We're going to choose the fields in the list view of the Inventory template. Here's how our table view will look when we're done.
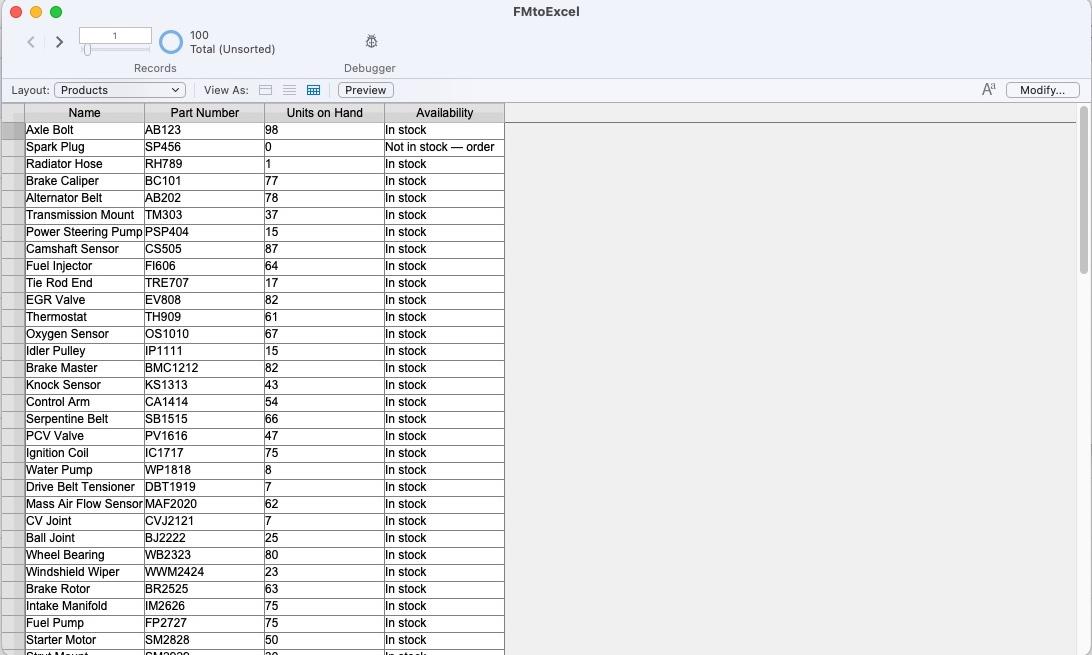 We must add the "FM To Excel" button to this layout. Returning to Layout Mode, we'll edit the Layout Setup options to allow for a header part to be displayed.
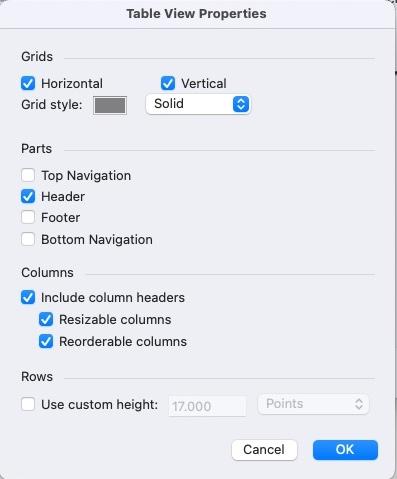
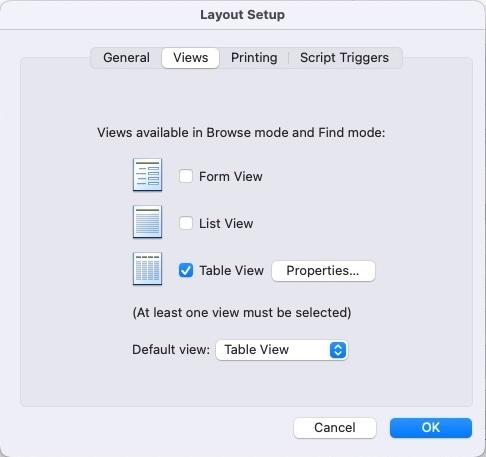
 Staying in Layout Mode, we'll need to navigate to the DataSet layout to copy the "Export to Excel" button in the header. Then, we'll navigate back to our new layout and paste the button into the header of our new layout. It should look something like this:
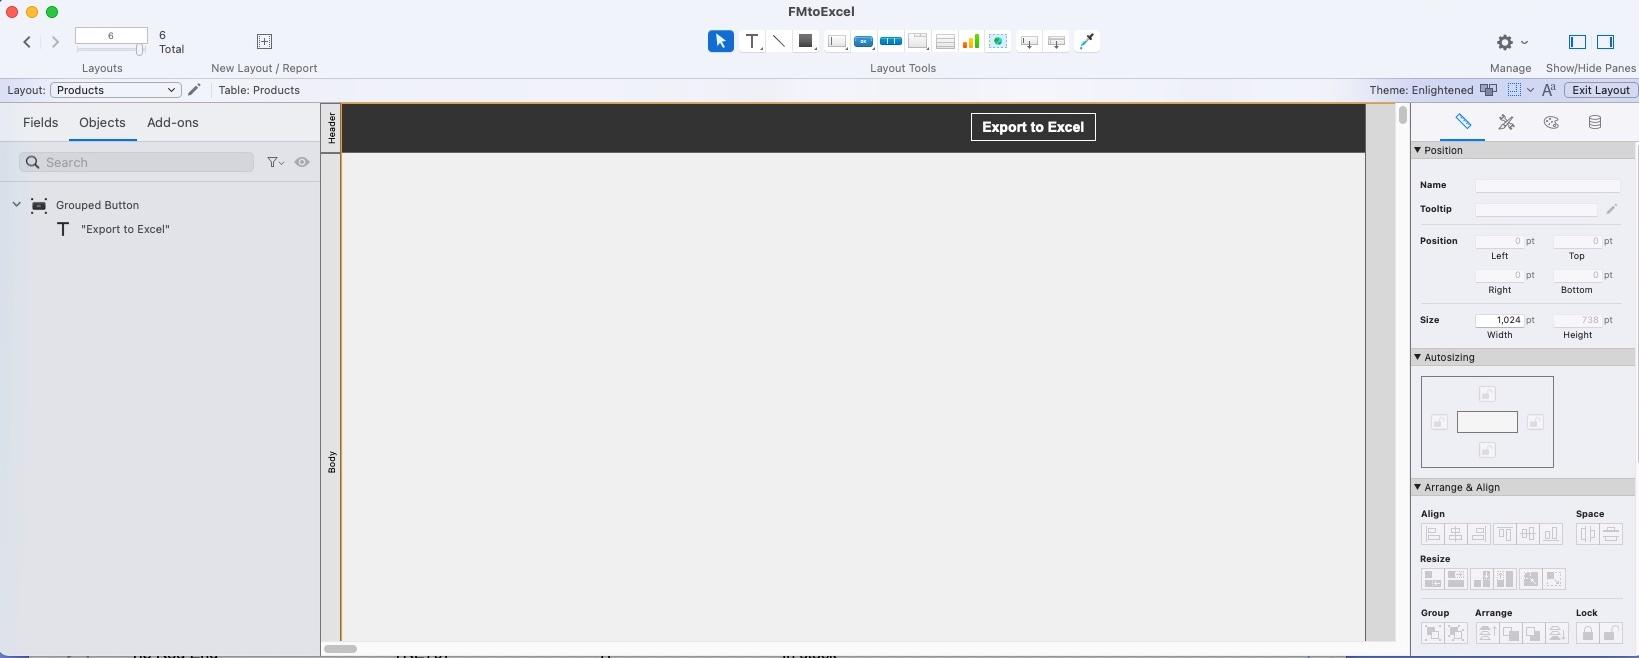 Enter Browse mode, and it should now look like this:
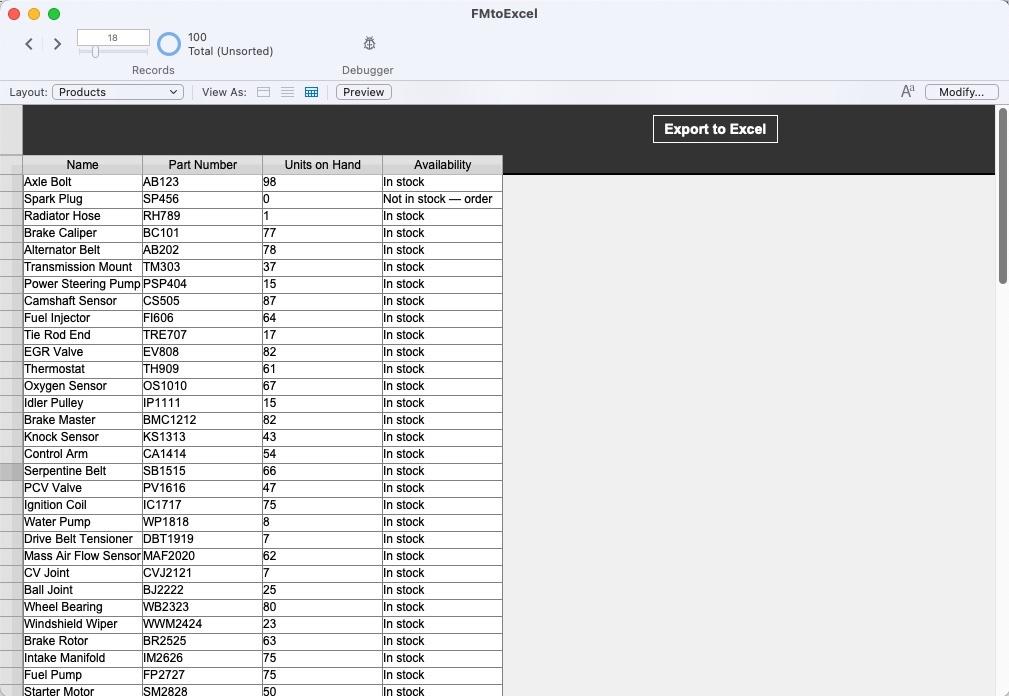 When we click the button and select "custom options," we'll see the fields on the layout and the arranged order reflected in the tool.
 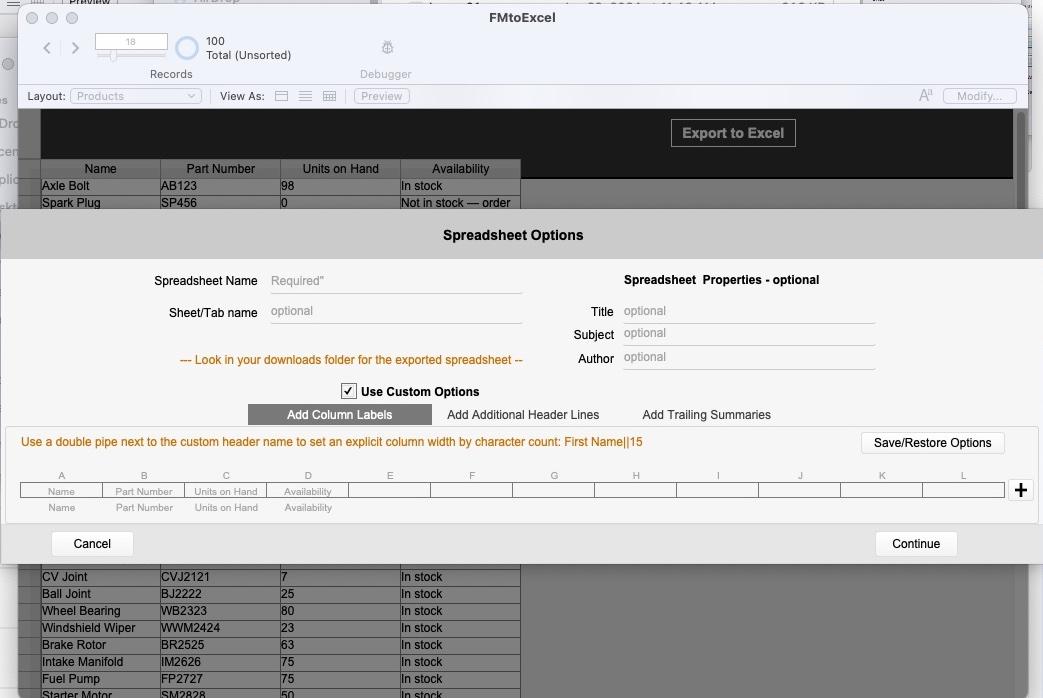 And that's it! Following these steps correctly should open a new window allowing us to export the current layout to Excel. It will also allow us to add new fields to the design - in table view -- and those fields will get dynamically added to the export.
Check out more FileMaker development tips and tricks, including creating multiple new records and sorting columns in FileMaker.
