

FileMaker is a powerful platform for creating apps to solve our business challenges. It can single-handedly tackle virtually any workflow we throw at it. Still, there are instances when we might need to integrate our apps with another software tool to extend their functionality and/or accessibility. For example, we can manage integrations with third-party tools like Zapier and technologies like API. See how easy it is to connect our applications with FileMaker and Zapier.
Integrate FileMaker and Zapier
Over the past few years, Claris has made a concerted effort to enhance and simplify FileMaker's integration process and capabilities by expanding its "Insert from URL" script step and its data API. Now we can leverage either one of these functions to connect FileMaker and its data to the broader world. Having said all that, you might be thinking to yourself, "aren't there services out there that provide a way to connect to disparate systems without having to reinvent the wheel each time?" Well, of course, Claris Connect and Zapier are two examples of those services. Zapier is a leading integration platform. It's so pervasive that teams within our organizations might already be using it.
Zapier offers more than 4,300 built-in connectors. These connectors allow us to pass information between almost any cloud-based app or service. So now combining our custom FileMaker app with Zapier is more effortless than we might think.
For example, let's say we want to create a simple integration with a popular web-based form tool, Jotform. Remember the Data API requires a valid SSL certificate to operate correctly. So, the first thing we need to do is enable the Data API Connector on the FileMaker Server via the Admin Console:
 After we've turned that on, we have to add a User and Privilege Set for them in the FileMaker file:
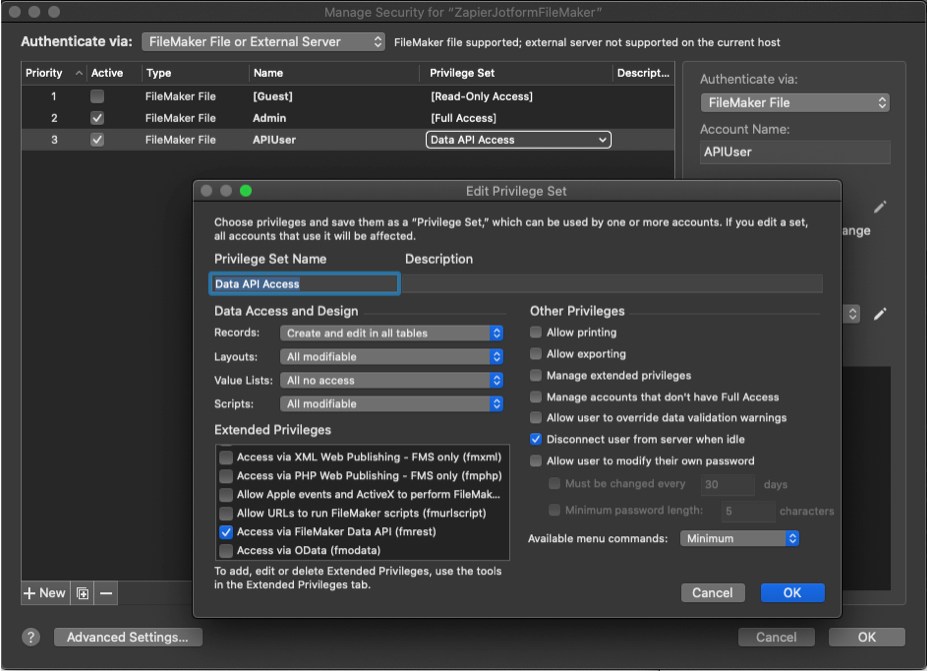
The FileMaker Data API requires us to encrypt the name and password of the user we just setup:
Base64Encode ( "APIUser:apipassword" ) = QVBJVXNlcjphcGlwYXNzd29yZA==
The last thing we need to do is create fields where we can insert the Jotform data. In this case, I have two text fields: FirstName and LastName. That is all we have to do on the FileMaker side of things for now.
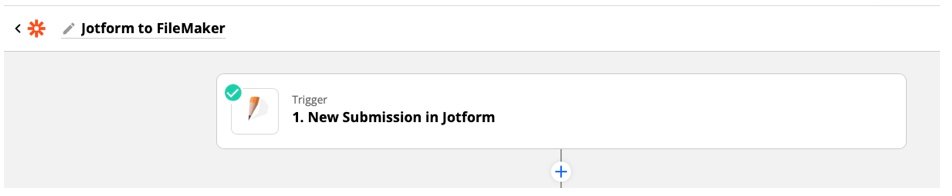
Next on to Zapier. Since we decided to gather our initial data from Jotform, let's add that as the first step of the Zap. This is considered the trigger. We're focusing our discussion on FileMaker, so we're not going to go into depth on creating and configuring the other parts of the Zap. You can find plenty of resources out there. Instead, we're going to focus on the FileMaker communication portion of it. Be aware we need to go into our Jotform form and change the setting on the integration tab to allow Zapier to access this form.
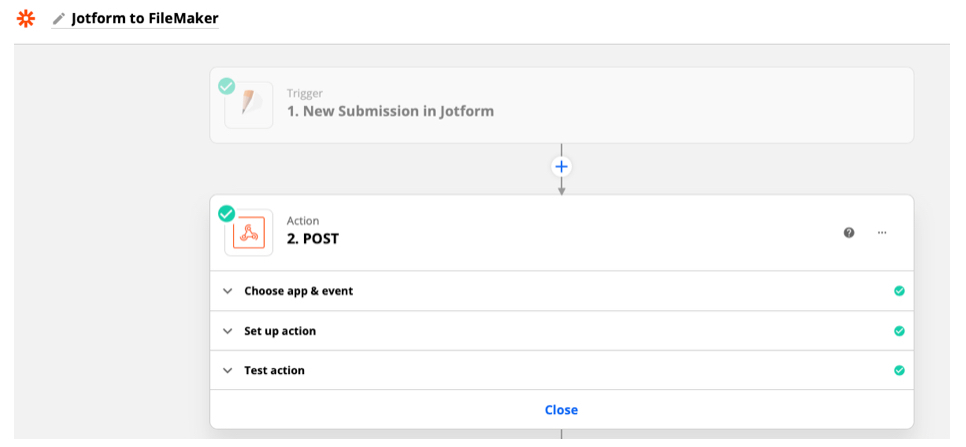
We're now going to use Zapier's Webhook connector to take the info from the Jotform connector and pass it to FileMaker. Because the Webhook connector in Zapier is a "jack of all trades" affair, it's a little more complicated to set up, but we will walk you through most of it.
First, we need to sign in to our FileMaker file via a Data API call. That requires a Webhook POST Event Action.
The fields we need to fill in are:
URL: https://yourserver.yourdomain.com/fmi/data/v2/databases/YourDatabaseName/sessions
Payload Type: raw
Wrap Request In Array: No
Unflatten: No
Basic Auth: QVBJVXNlcjphcGlwYXNzd29yZA== (the encrypted user name and password we created earlier)
Headers:
Content-Type application/JSON
Authorization Basic QVBJVXNlcjphcGlwYXNzd29yZA==
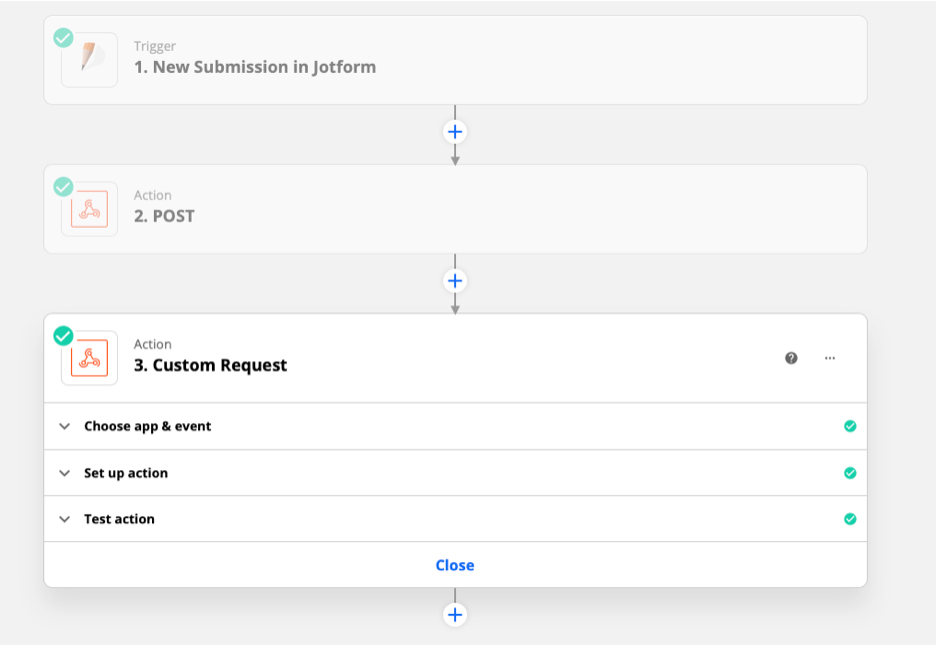
Now we move on to the final part, which is sending the form data to FileMaker. We now need to select a Custom Request action event.
URL: https://yourserver.yourdomain.com/fmi/data/v2/databases/YourDatabaseName/layouts/YourDatebaseLayoutName/records
Data Pass-Through?: False
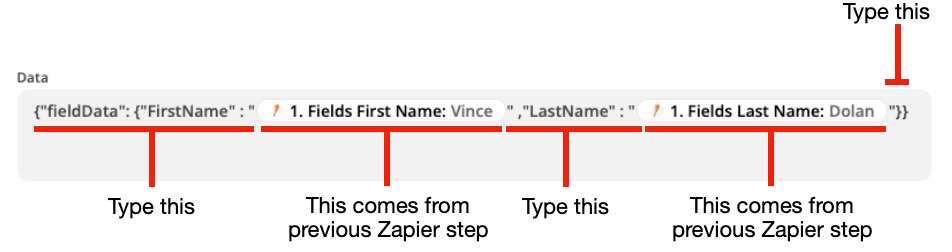
Unflatten: No
Headers:
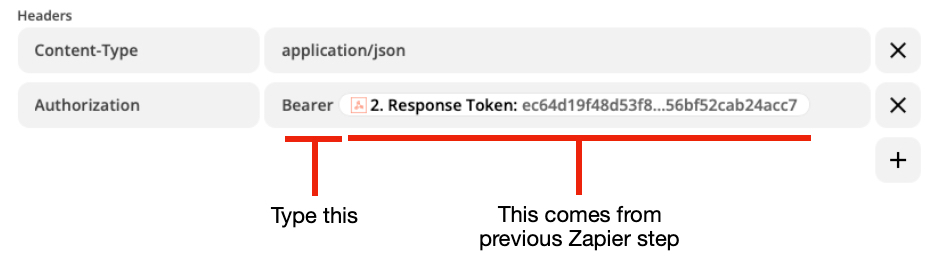
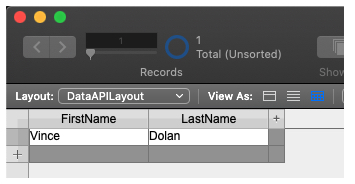
Now go to the last part of the Action, which in Zapier is always Test action. If you set everything up correctly, you should see this record appear in your FileMaker server hosted app:
We hope this brief overview of how to leverage the power of both FileMaker and Zapier to push and pull data from other sources gives you the freedom to expand beyond the initial scope of what you may have thought was possible. Find more ways to improve your workflows and productivity with FileMaker integration opportunities.

This article is also published on FileMakerProGurus.com.